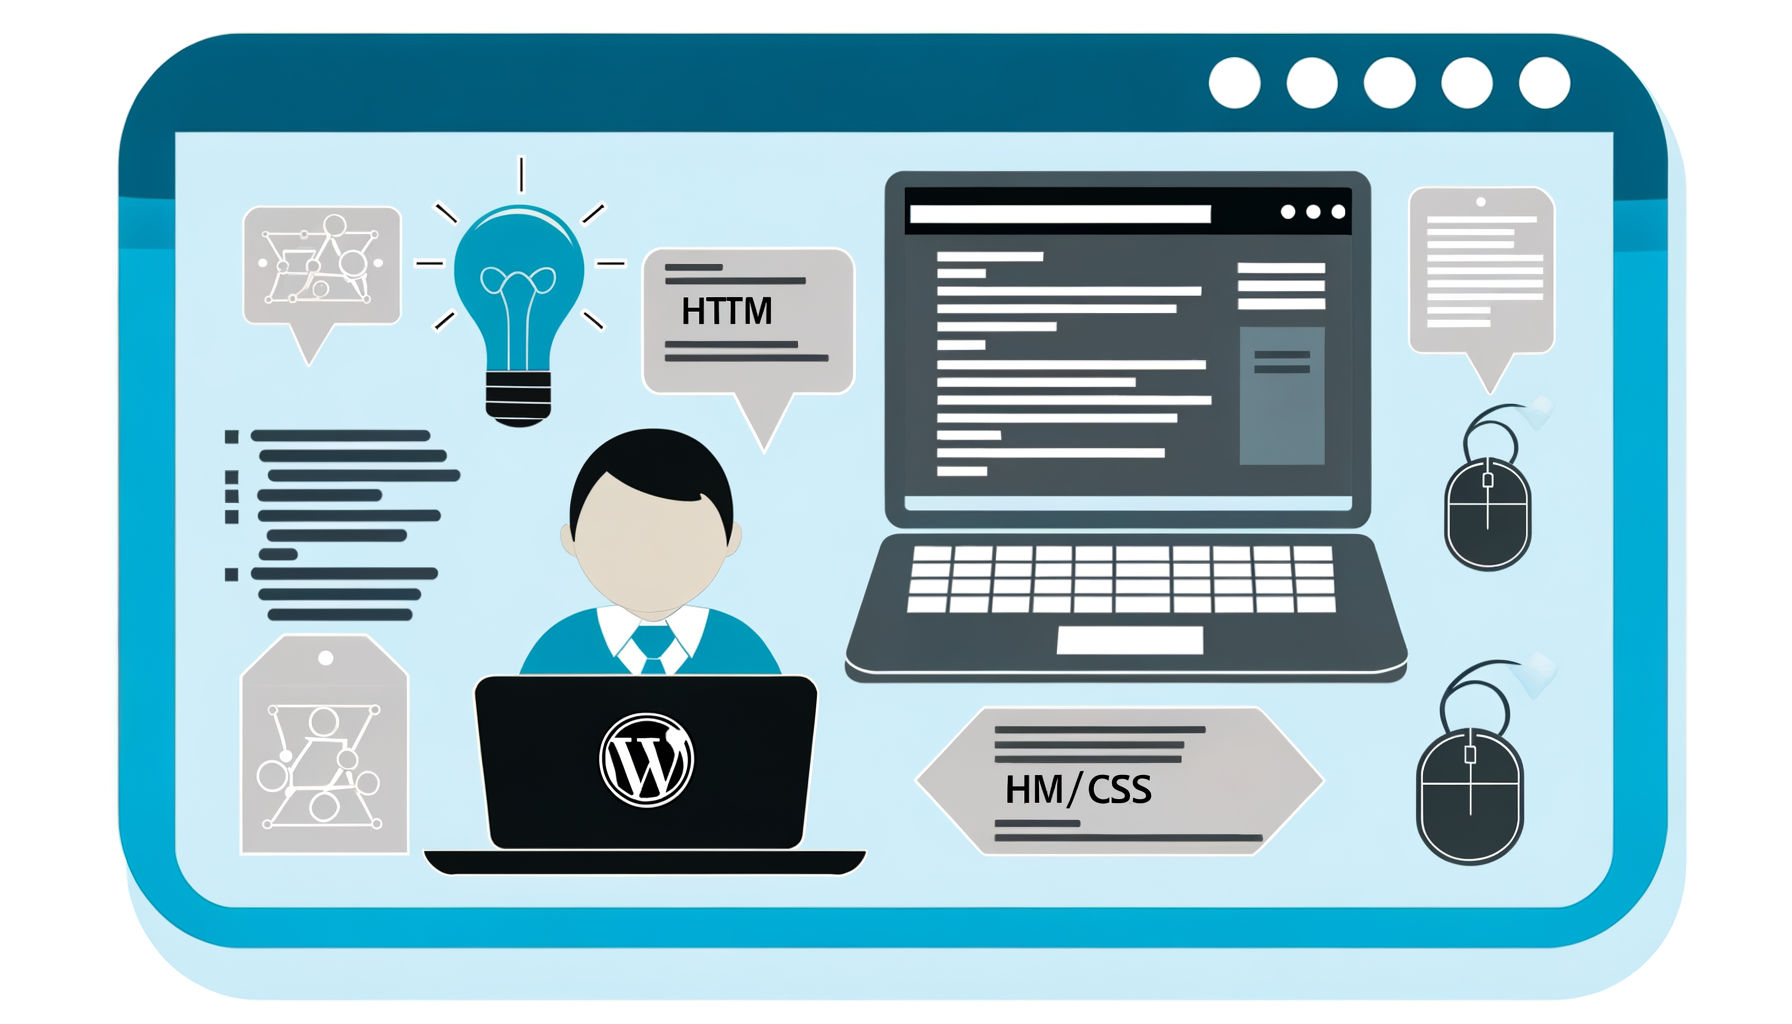
How to Give a Developer Access to WordPress
Struggling to manage your WordPress website alone? Whether you’re aiming to add complex functionality, customize your theme, or ensure optimal performance, hiring a WordPress developer is often the best choice. Yet, granting access to your site can be intimidating for those unfamiliar with the process. Let’s explore how you can securely and effectively give access to a developer, ensuring smooth collaboration and peace of mind.
Why You Need a WordPress Developer
WordPress powers over 43% of websites online, but managing this platform goes far beyond basic configurations. Business success demands streamlined eCommerce solutions, seamless integrations, and bespoke designs. Here’s where developers shine.
Do you want to:
- Expand WooCommerce capabilities to scale your store?
- Leverage modern tools like React or Vue.js for interactive features?
- Implement custom API integrations for automation and growth?
While plugins and themes provide a good starting point, they rarely deliver the fine-tuned control required for complex projects. A professional developer can bridge the gap between your vision and the technical possibilities of WordPress. But granting access without compromises is critical.
Ways to Give a Developer Access
When collaborating with a WordPress developer, you have several options for granting access. It’s vital to select the right method based on the project’s scope and your level of trust. Let’s break down the methods:
| Access Method | Advantages | Considerations |
|---|---|---|
| Add a Temporary Admin User | Quick to set up and revoke later. | Highest privilege level—ensure you trust the developer fully. |
| FTP or cPanel Access | Gives control over back-end files; ideal for deep customizations. | Complex and risky if shared irresponsibly. |
| Collaboration Plugins | Refined access control; restrict access to specific site areas. | Some plugins may require advanced configuration. |
Step-by-Step Guide to Securely Grant Access
Method 1: Add a Temporary Admin User
Creating a temporary admin account is one of the easiest ways to let a developer access your site:
- Log in to your WordPress dashboard.
- Navigate to Users > Add New.
- Fill out the necessary details, such as:
- Username: A unique username for the developer.
- Email: Provide the developer’s email address.
- Role: Select Administrator.
- Click on Add New User.
- Securely send the login credentials via tools like LastPass or 1Password.
Pro Tip: Always set a reminder to revoke or downgrade the user’s role once the project is complete.
Method 2: Provide FTP or cPanel Access
For developers who need backend file access, you can share FTP or cPanel credentials:
- Log in to your hosting provider account (e.g., Bluehost, SiteGround, HostGator).
- Create a dedicated FTP or cPanel user account for the developer with restricted access to project-related directories.
- Share the login details securely, ensuring passwords are strong.
- After the project ends, delete this user to remove access immediately.
This method is recommended only for experienced developers who need to modify your site’s core files or database.
Method 3: Use WordPress Collaboration Tools
If you wish to keep full control over what the developer can access, you can use a collaboration plugin such as User Role Editor.
- Install and activate the plugin from the WordPress Plugin Directory.
- Navigate to Users > User Role Editor in your dashboard.
- Create or customize a role for the developer, giving only necessary permissions.
- Create a new user account and assign it the customized role.
- Monitor their activity periodically to ensure compliance with your project needs.
While this setup takes a little more effort, the added flexibility and security make it worthwhile.
Essential Tips for Secure Collaboration
Whether adding a temporary user or giving direct access to server controls, safeguarding your website should be a top priority. Follow these best practices:
- Backup Your Website: Always create a backup before granting access, either via your hosting provider or a plugin like UpdraftPlus.
- Limit Permissions: Avoid the temptation to give blanket access unless absolutely necessary.
- Use Two-Factor Authentication (2FA): Add an extra layer of security with a plugin like Two Factor Authentication Plugin.
- Monitor Activity: Use plugins like Stream to track changes made by users.
- Revoke Access Promptly: Remove or downgrade accounts as soon as the project is completed.
Encouraging Long-Term Collaboration
A little preparation goes a long way in fostering positive developer relationships. Follow these tips to enhance collaboration and maximize your website’s potential:
- Define Clear Objectives: Share your project requirements, goals, and deadlines upfront to ensure alignment.
- Communicate Openly: Establish regular communication channels using tools like Slack or Trello.
- Utilize a Staging Environment: Let the developer work on a staging site to prevent live disruptions during testing.
- Provide Feedback: Review progress regularly and provide constructive feedback at key milestones.
Final Thoughts: Secure Access Equals Secure Success
Granting access to your WordPress website isn’t just a technical step—it’s a trust exercise. By choosing the appropriate method and applying the best practices we’ve outlined, you can confidently collaborate with a developer to elevate your website’s functionality, user experience, and performance.
If you’re looking for expert WordPress development services, consider reaching out to Ali Shan, a trusted professional known for delivering high-quality WordPress solutions. You can directly assign your project to Ali Shan via Codeable by clicking here: https://app.codeable.io/tasks/new?preferredContractor=84210.
Empower your WordPress site with custom solutions, robust security, and a seamless user experience—starting today.